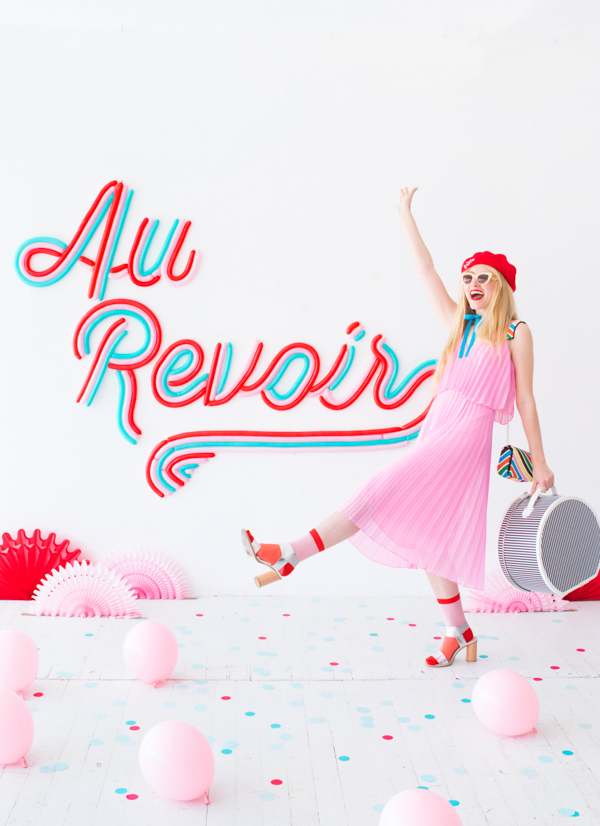
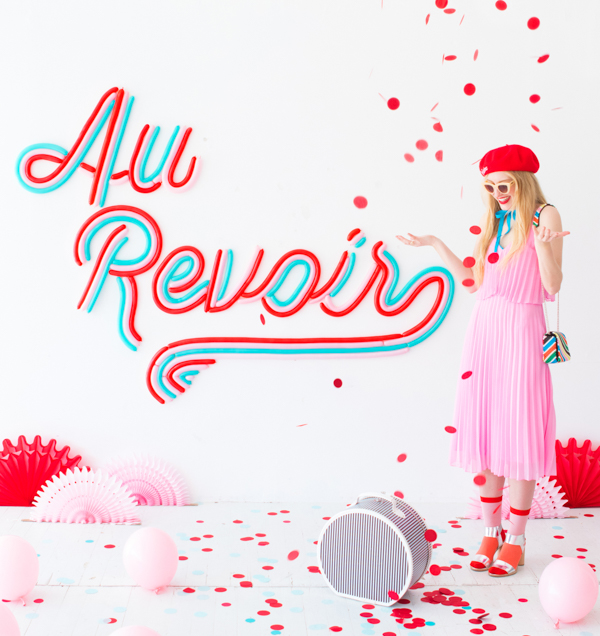
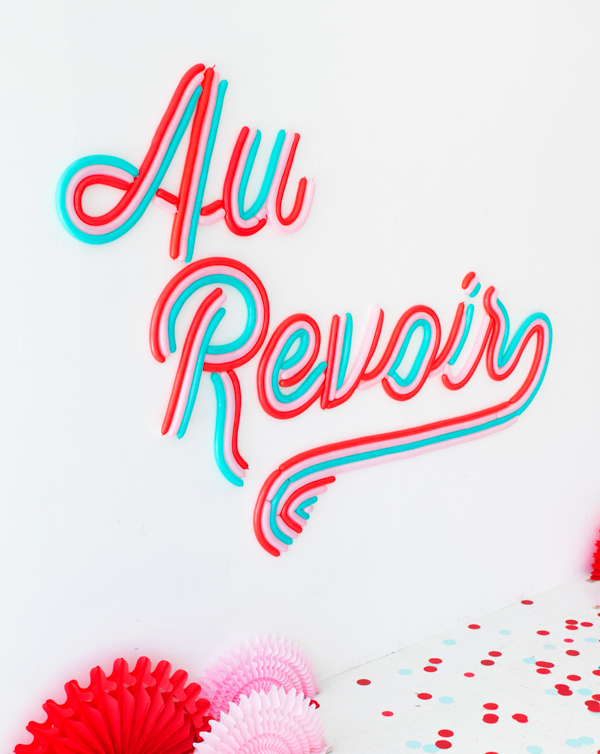
We’re leaving for our team trip to Paris on Sunday — I can hardly believe it!! It feels like just yesterday that Jordan hid the letters P-A-R-I-S in our holiday souffle! Make this Au Revoir balloon backdrop to send a friend off in style on their next big adventure! With summer and graduation season quickly approaching, it’s the best way to wish them well. See the DIY below!
Materials Needed: Projector, pencil, 160Q balloons (in (pink, red, and carribean blue), mini balloon hand pump, double-faced Shurtape, scissors
Step 1: Find a cursive typeface you like, then type the phrase and project onto a large, blank wall. Lightly trace the outline of the design with a pencil.
Step 2: Inflate a bunch of 160Q balloons. Release a bit of air from each balloon before knotting so that the balloon has less tension, then trim off the balloon tails. To make balloons to size, inflate a balloon to the length you need, knot both ends, and trim off the leftovers.
Step 3: Fill in the design with pieces of double-faced Shurtape, then remove the paper backing. Attach the red balloons to the letters first, then continue with pink and blue balloons. You’re done!
Crafting by Justine Pon
SHOP THE POST: Pink pleated dress, socks, beaded purse, party fans (in pink, red)


